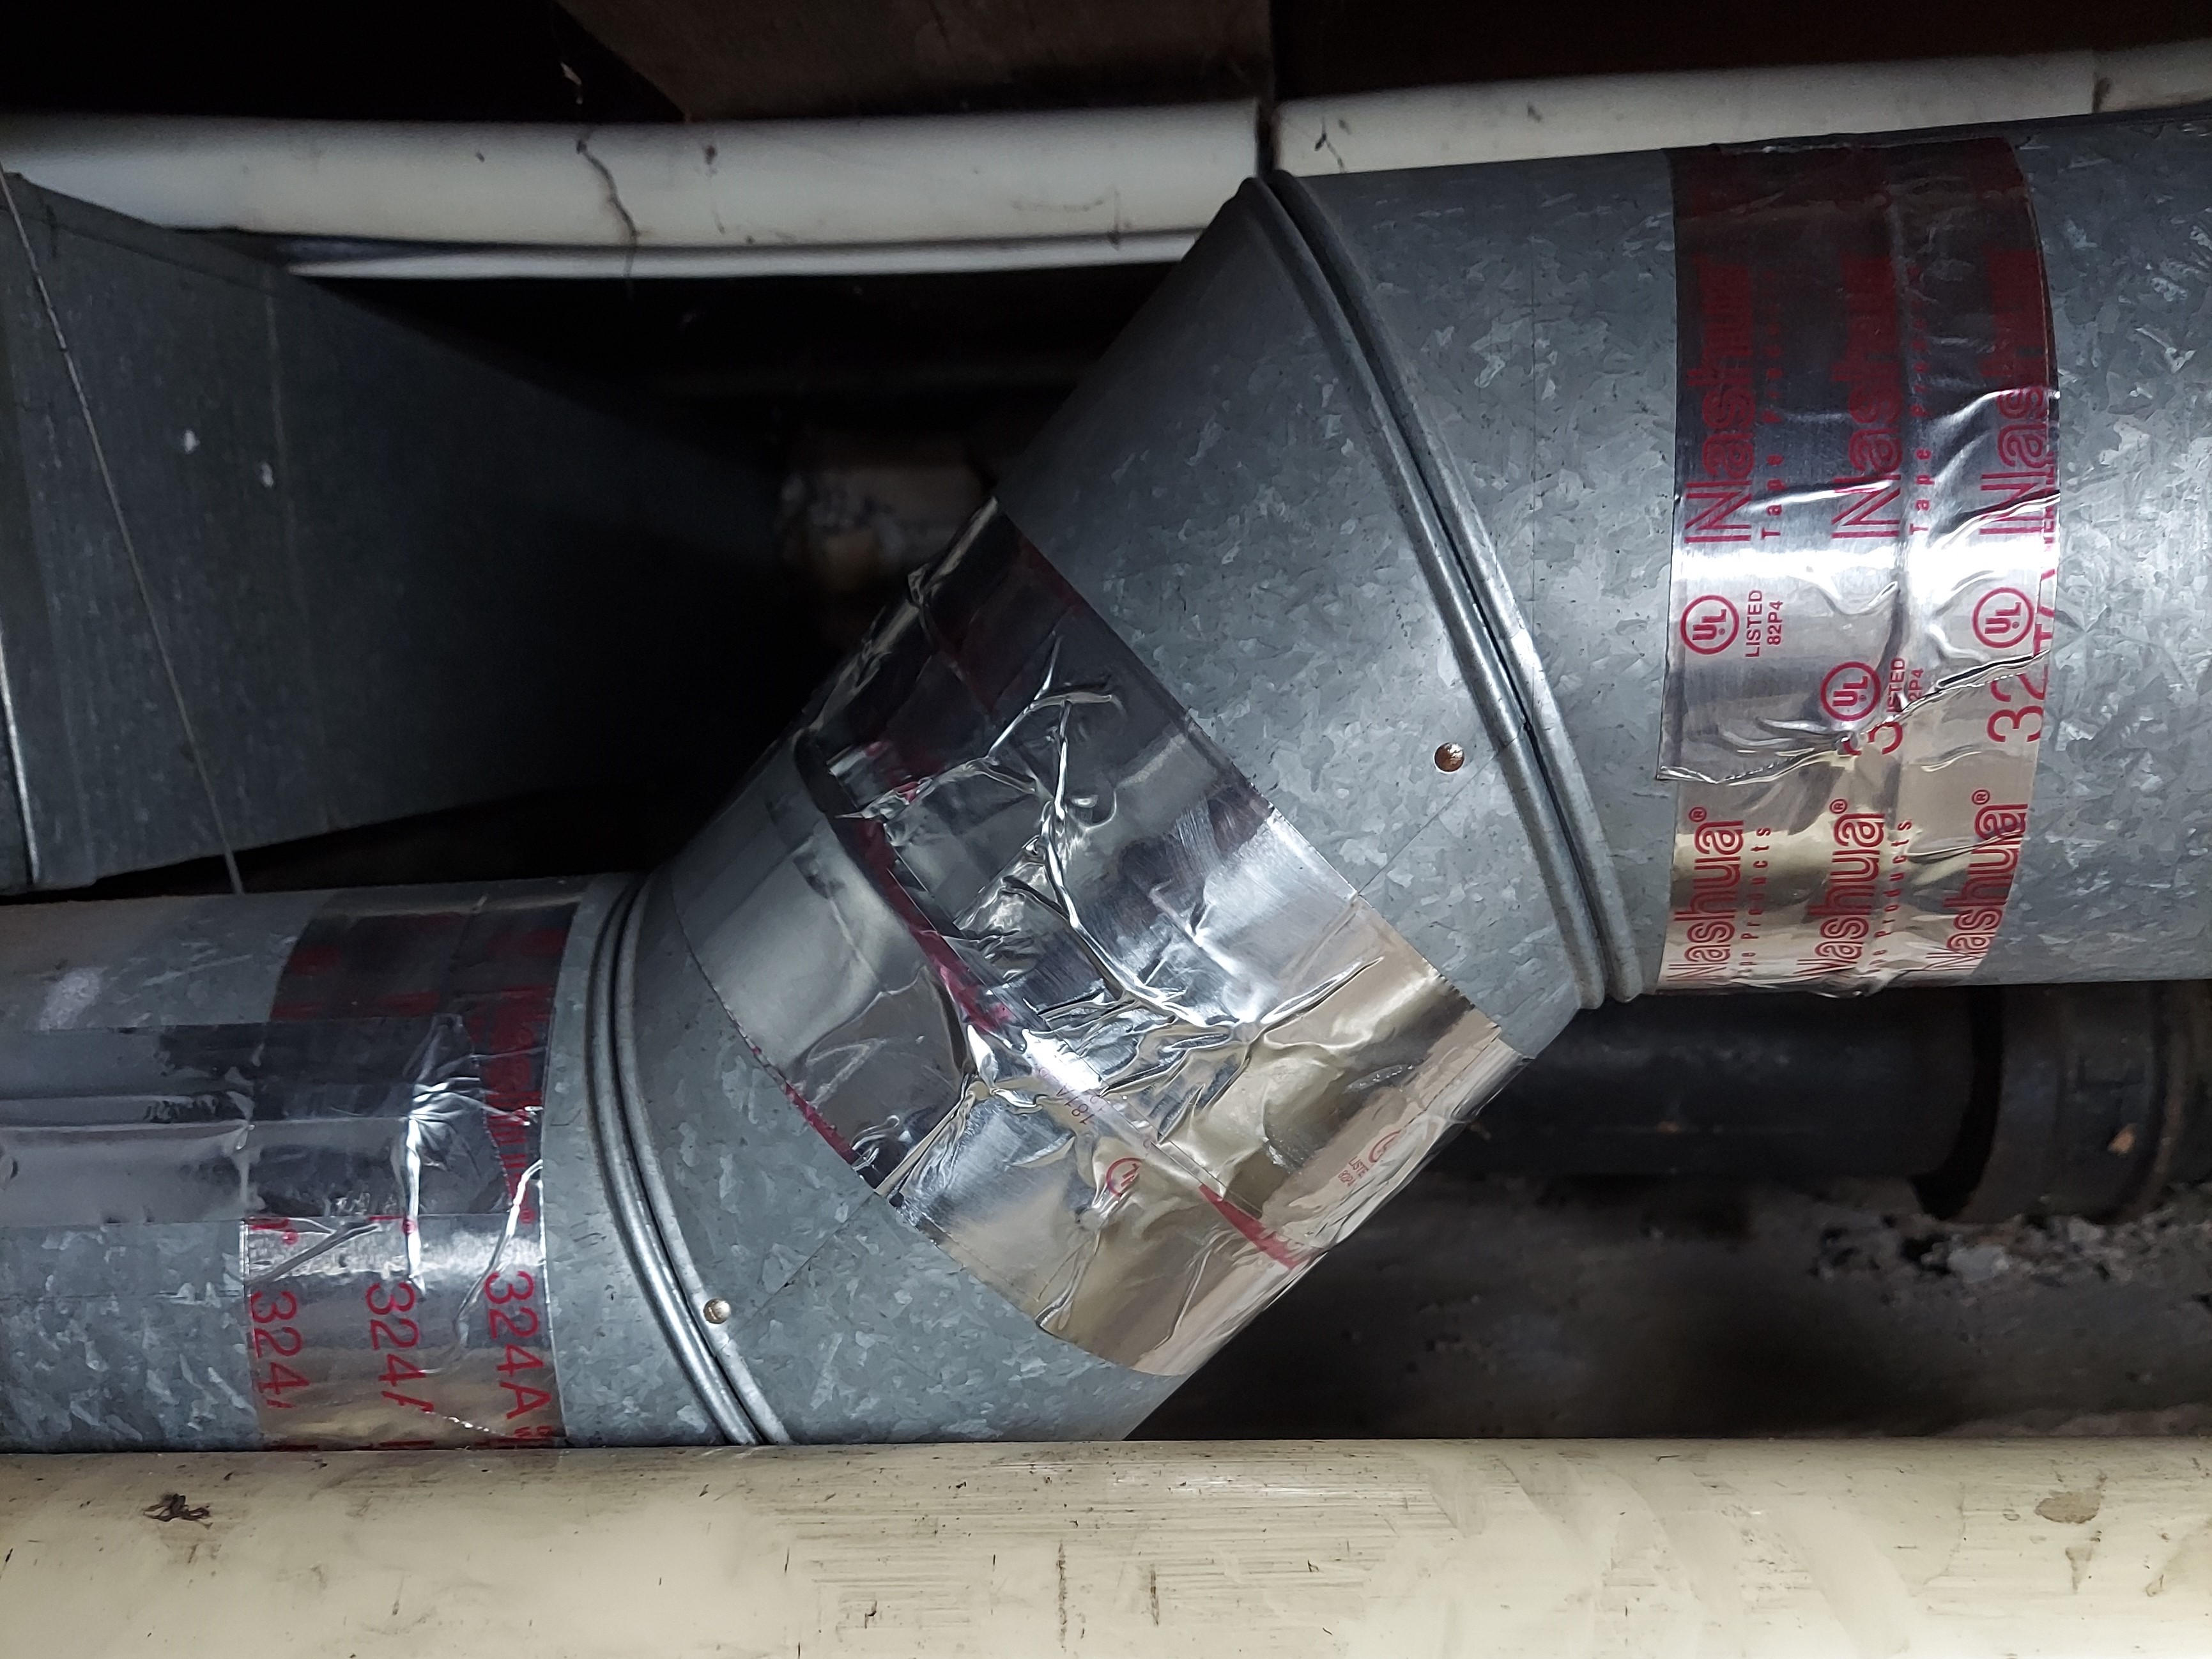
How to Tape Ducts
Years ago I got an offer for a job as an environmental geologist in Southeast Michigan, I was very excited for my first career level job and a chance to move away from home. I found an affordable apartment close to the office and in a historic neighborhood. Needless to say I was very excited and moved in in the spring. The spring turned to summer, then to fall and as the temps fell outside they also fell inside my apartment, I thought it was just because the apartment was in an old house and certainly it lacked insulation. Then as winter settled in my apartment would never get warmer that 55 degrees fahrenheit even though the thermostat was set to 70. I decided to investigate and in the basement I found a modern forced air furnace, a clogged filter, and old unsealed ductwork. That day I went to the local home improvement store, bought a new filter, and a roll of duct tape and got to work. After changing the furnace filter and sealing all the duct work I returned to my apartment and to my pleasant surprise it was a nice comfortable, almost too warm 72. Taping ducts is a simple project that can help you save on energy bills and have a more comfortable home.

Why tape ducts?
Taping ducts is a simple and low cost way to seal your ducts. Sealing ducts is beneficial because it means less air leaks into unconditioned space like basements, attics, and wall and ceiling cavities saving money on heating and air conditioning bills It also helps in indoor air quality because sealed ducts aren't at risk of picking up contaminants from those same unconditioned spaces, things like dust, chemicals, or insulation particles.By making your HVAC system more efficient they also help protect the environment by reducing the emissions from your system, and the amount of electricity it uses. For more information benefits click Here
Supplies
- Foil duct tape. Note do not use common duct tape on ducts, it will fail in a short amount of time and has been banned by building codes in a number of areas. Common duct tape is characterized by its dull grey appearance and plastic look.
- Dust rag, brush, or other tool to remove dust from the ducts
- Scissors (Optional)
- Light gloves
- Flashlight
- Pliers
- Philips and flat head screw driver
Steps
- Identify where the ducts can be sealed. In existing homes this is usually in the basement and possibly the attic.
- Prepare the area, remove any objects where you will be working.
- Start at one end of the duct and work your way to the end.
- At every joint, first clean the joint with a dust rag, brush, or duster until the joint is free of surface dust.
- With a gloved hand run your fingers lightly along the seam to be taped, make not of any loose screws, or protruding metal. Note screws, protruding metal, and other sharps on duct edges can cause bad cuts, take caution.
- Drive any loose screws on the joint and flatten any protruding metal.
- Unroll a length of your foil duct tape about 2" or 3" longer than the joint to be taped.
- If you want a nice clean tape seam, cut the length of tape from the roll.
- Peel off 4"-6" of the paper backing, and place the now sticky end squarely on the joint.
- Work your way along the joint, separating the paper backing as you go.
- Once the entire joint has been taped, with a gloved hand, press the tape firmly to the joint.
- Work your way along the duct work until all joints have been taped.
